Sunday, January 23, 2011

Mommy Review: Disney's Epic Mickey

I recently talked about spending time with my family playing video games, so I thought that a review might be helpful.  I am not a video gaming expert - not by far!  This review is from a mom to other moms.

Summary of Epic Mickey (for the Wii):
Mickey Mouse has to return through the mirror to where the Sorcerer has created a special land for lost and forgotten characters to repair the damage that he (Mickey) created by spilling paint, thinner and magic on it.  Mickey has to use his paint brush to fill in things with paint, thin out others, and battle "blots" and other creatures that he had accidently set loose on this world populated with characters like Oswald the Happy Rabbit.

Family Pros:
It is very engaging and everyone seems to enjoying watching what happens next.  I loved that you can repair this land and help creatures.  Another cool thing is that it is a mock Disneyland.  Each of the lands in Disneyland are represented here with a slight name change - Tomorrowland becomes Tomorrow City, Main Street is Mean Street,  etc.  Rides are changed as well - Space Voyage, instead of Space Mountain.  While exploring each area, you can go up to a character and it will ask for your help (ie there is a pirate that wants helping getting a gift for his love interest. You have to ask her what she likes and then find them and get them back to the pirate. In this case, you have to go to multiple lands to find the 3 things and then only offer the right one to the pirate.)  In a time when so many video games are all about shooting and killing, I like that in this game you stop the bad characters by thinning them or best is to cover them in paint and making them your friend and helper.  They get little blue Mickey heads over their head like hearts and they will help you stop other bad guys.  My entire family can play this game, too, although there are some parts that are difficult (like the battling parts) and we hand the remote to the more experienced players.  There are a ton of parts though that younger members can just paint and thin to their hearts content, exploring an area.  The more you explore each area, the more that you can discover hidden items like e-tickets, pins, film reels and extra content.  The controls are fairly easy to do (move with nunchuck, paint with B, jump with A, and thin with Z.  You can change you view with the directional pad and see the map and quest list by pressing 2.  Later in the game - and + are used as well.)  Another cool element is that when you travel from one land to another, you do via an old film reel of a Disney cartoon (Steamboat Willy, Clock Cleaners, and even some Oswald ones).

Family Cons:
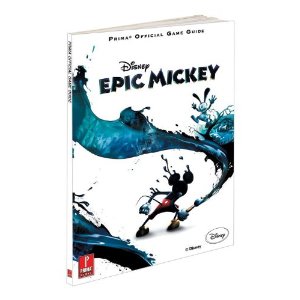
It is a 1 player game, so all the rest of your family will have to sit and wait for their turn.  It is also a very dark game, meaning some of the screens are very hard to see.  Periodically, you end up in a spot for some reason that you can't see what's happening, you view shifts radically away from what you were looking at or it won't let you look at something.  Because the "bad guys" are made from the blot (a dark blob of paint and thinner), there are some area that are a little scary.  Not so bad that my kids left the room, but they really worried for poor Mickey.  There is no talking in this world, so all dialog has to be read.  If you have younger pre-readers, it has to read to them.  Most of these, you can take your time reading, but some of it goes really fast and even I had trouble reading it fast enough.  There a ton of side quests that it seems you can never complete.  It keeps track of them for you (I hated seeing "failed" under a quest).  They published a guide to help out.

All in all, it is a great family game, but probably best for the 10+ crowd.  We did not buy the guide and are almost to the finally battle, but I could see use getting the guide and replaying to find what we missed the first time.  It keeps you interest enough that you want to go back time and again.  I give the game a B+.

Good luck on your gaming,
Meagan

Friday, January 21, 2011

Experts

I hope are enjoying my blog so far.

I would love to know if my knowledge is helpful to you.  Two things that I seem to be good at is figuring out how to do something, but also I know when to call in reinforcements.  There are many times that I would not be able to accomplish anything without help from my family and friends.  Every single one of us is good at something.  I would be remiss if I did not allow them to share their expertise with you as well.

So, look for upcoming posts from some of my experts!
Meagan

BTW, if you have a specialty that you would like to share, please drop me a line

Thursday, January 20, 2011

How to Keep Track of What You've Read, Want to Read and Should Read


If you are like me, you have read a ton of books!  If you, too have struggled with keeping track of what you have already read (to make sure that you don't reread), what you want to read, or even get an idea of what you might like next, I have a website for you!

In the "old days", you could only make your lists via a spreadsheet program or table within a text document.  I wanted to keep track of my books, especially ones that I had that were signed or special edition for some reason.


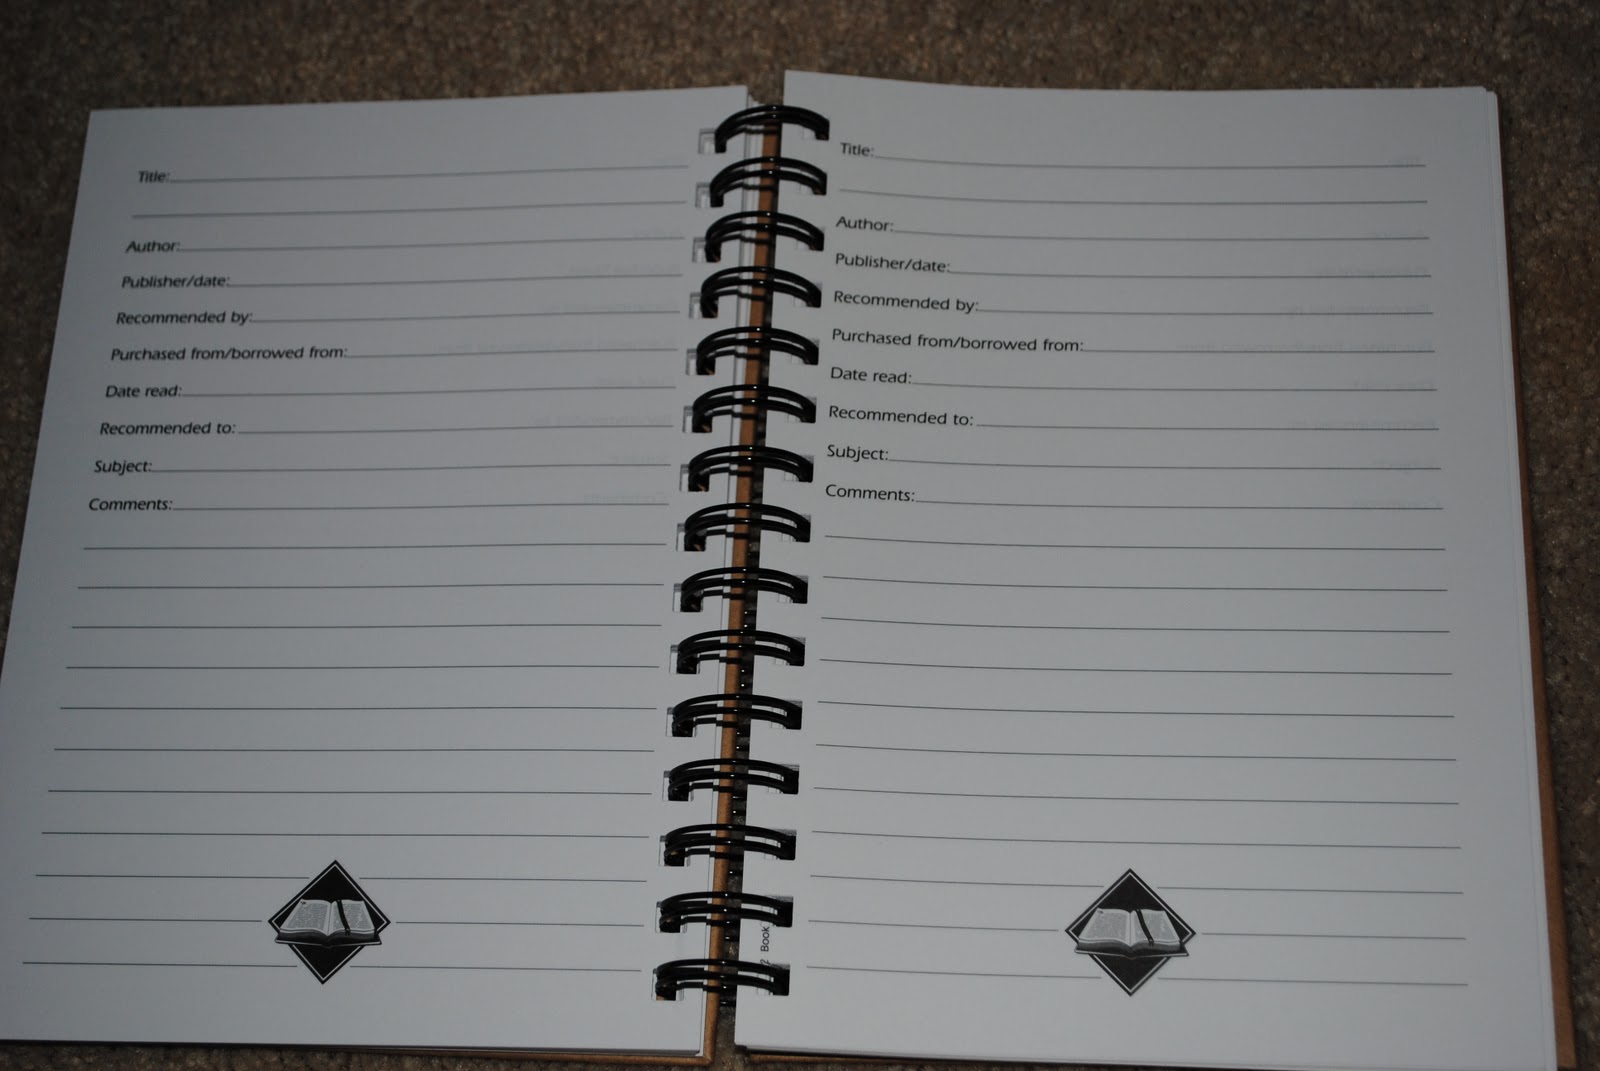
In the "really old days", you had to do it by hand in a tablet or what I had "A Booklover's Journal".  Although, sadly, my journal is markedly unfilled, even though I had read enough books to have filled more than a couple of them.  Even my spreadsheet is not a complete list of my books.  It was just too hard to enter the books.


I stumbled across a new website in my search for information on how to blog.  www.goodreads.com
As someone who LOVES making lists (I know, weird, huh?), I used a spreadsheet for everything; books, movies, addresses, etc.   I found that while different programs have come and gone, you can always transfer or import using a .csv file.   I really love how easy this site is to use.
1. First, you must create an account to start.  It was VERY simple.  I used my existed gmail account and added my name and password.  That's it.
2.  It also allows you to add friends by uploading your address book.  I skipped this step.
3.  You can of course just move forward and record books.

Since I already had an extensive list made up in excel, I imported my list.  It took a few minutes for it to verify the books.  It prefers isbn (international standard book number - or the number that you see on the back of a book by it's barcode), but you could also use title and author.  Again, very simple.  I clicked the "import" box and searched my hard drive for my spreadsheet.  That's it.  A note:  The first time that I tried, it did not like what I titled my columns and was not set up for the newer excel.  It prefers .csv, but it can use .xls or .txt files, too.  I changed my column headers and file type and done.

Another option for adding your titles is to use search what they have already.  They have an extensive list of books and it brings up the jacket cover and everything.  Very simple to type in the author or title, etc and find the book that you want.  Once you have found the correct title, you can either click "add to my books" and choose "read", "To read" or "currently reading" or you can just click the rating star that you want to give it and it will automatically add it to your list of titles that you have read.

They have 2 other options that I have not tried just yet.  To upload from your Amazon wish list and worse come to worse - to simply add a new title manually.

I have started the task of adding my insane list of books that I have already read, but you could just start fresh with what you reading now.

It also gives the option of seeing and sharing reviews of your friends, joining book discussions, reading reviews and more.  It is a neat system.  I figured that I would post mine for you via a widget they offer.  I have made a pledge on their website to read 20 books this year.  You can select any number you want and it tracks your progress.

Enjoy a good book!
Meagan


      Wednesday, January 19, 2011

      Vote on the next how to

      I would love to hear from you about what topic I should blog about next and you would like to know more about.
      Please vote either via comment below or e-mail by Thursday, January 20th at 9 am (pst)

      Your choices are:

      1.  How to make a quilled card
      2.  How to make a hobby horse
      3.  How to make a cute purse
      4.  How to make a knapsack
      5.  Your choice

      Can't wait to hear from you!
      Meagan

      Tuesday, January 18, 2011

      How to be Inspired

      I took a trip to the library today.  I had originally planned to go to the storytime for my little guy, but since he was asleep, I spent the hour wandering the aisles.  I found so many treasures.

      Whenever I look for new ideas, the best thing that I do is to visit the library or book store.  Combing the rows alone will show you how much is out there to learn.  I love to own books (obviously!  as per my previous posts), but a good library visit can unearth tons of neat ideas.  I came home with so many books that they told me that I was 2 way from my limit!

      book glutton?
      So, what did I get?
      Monsters Eat Whiny Children (to read to my kids) :)
      Cake Art (for cake inspiration)
      Parties That Wow (for inspiration in planning parties)
      Button and Stitch - Supercute Ways to Use Your Button Stash (for kids to make stuff)
      Crafting Fun Stuff with a Crowd of Kids (for my mom's club)
      A Zombie Ate my Cupcake (just because it was a funny cookbook)
      Blonde Bombshell (to read)
      Meet Bill dvd (never saw this one)
      Angels & Demons dvd (I couldn't ever remember watching this one - unlike the rest of the world, I did not enjoy his 2 books, so I was not quick to run out and watch the movies)
      Bionicle Graphic Novel (for my 10 yo)
      Miss Spider Scavenger Hunt CD-Rom (for my 5 yo)
      Piano for Kids CD-Rom (for my girls)
      Neverwhere (to read)
      Cirque de Freak bk 1 (for my 10 yo)
      Peter& and Starcatchers (for my 10 yo)

      It was such a nice time browsing the shelves that I may make a weekly visit.  Soon, I should have some new "How to" topics for you to enjoy.  So, the next time you need a little inspiration, take a trip to the library.
      Meagan

      Monday, January 17, 2011

      Project 365: Week 3 completed

      I am staying on track with my Project 365 and have completed my 3rd layout.  It really is fairly easy.  I have ignored the themes and topics and am just taking pictures of what is happening in our life.  It will be so nice to get to the end of the year and have a completed album for that year.  I am so far behind with my other scrapbooking, I am looking forward to this.
      Meagan

      Sunday, January 16, 2011

      How to Throw a Sparling Tea Party - the cake

      I thought that I would give you some more information on how I made the tea pot cake.  While it may look difficult, it was very easy.  As 3-D cakes go, this one is much easier than others that I have worked one.
      This is my Handle and this is my Spout. . .
      One of the first things that I started with was the handle and spout.  I hand formed them out of store bought fondant.  As I have said before, I have since learned how to make Marshmallow Fondant which knocks the store bought out of the water.  Also, if I were to redo this cake, I might try to either make this out of gumpaste or even shape it out of styrofoam and just cover in fondant.  Two problems that I encountered with them were that they were so heavy, it was hard to keep them attached to the cake, and while they dried, the backside flattened.  After I formed the pieces, I dried them in a pan.  It would have been better on a soft surface, so that they didn't flatten, but I reshaped a little.  I attached them to the cake with skewers.

      The bottom cake is a basic 8" round with a light pink fondant "tablecloth". 
      The round cake was made using the Wilton Sports Ball Pan:

      There are so many uses for this pan.  You simply fill each half with your chosen cake batter (I used white) and bake in the oven using the little round "feet".  After baking and cooling, I placed buttercream between the halves and a little buttercream where you place it to stick it in place.  At this point, you would crumb coat it.  Crumb coating is where you place a thin layer of icing, usually buttercream, all over the cake,  This seals the crumbs so that your top layer looks nice without crumbs.  It also smooths the surface for the fondant.  Probably the only hard part of this process was getting the fondant smooth on a round object.
      I added all the elements together.  I used flower fondant cutters and colored pink fondant to make the flowers and a leaf cutter and green fondant for the leaves.  You can attach the embellishments with water, but it can run easier.  Clear vanilla extract is a better thing to use.
      The lid is a small piece of the round cake that I cut off the cake top and covered in fondant and then used a gumdrop for the lid handle.

      All in all, pretty easy and simple.

      I hope you can use my information to throw your own fabulous tea party!
      Meagan
      btw - feel free to send me any questions as always or any suggestions for future how tos.